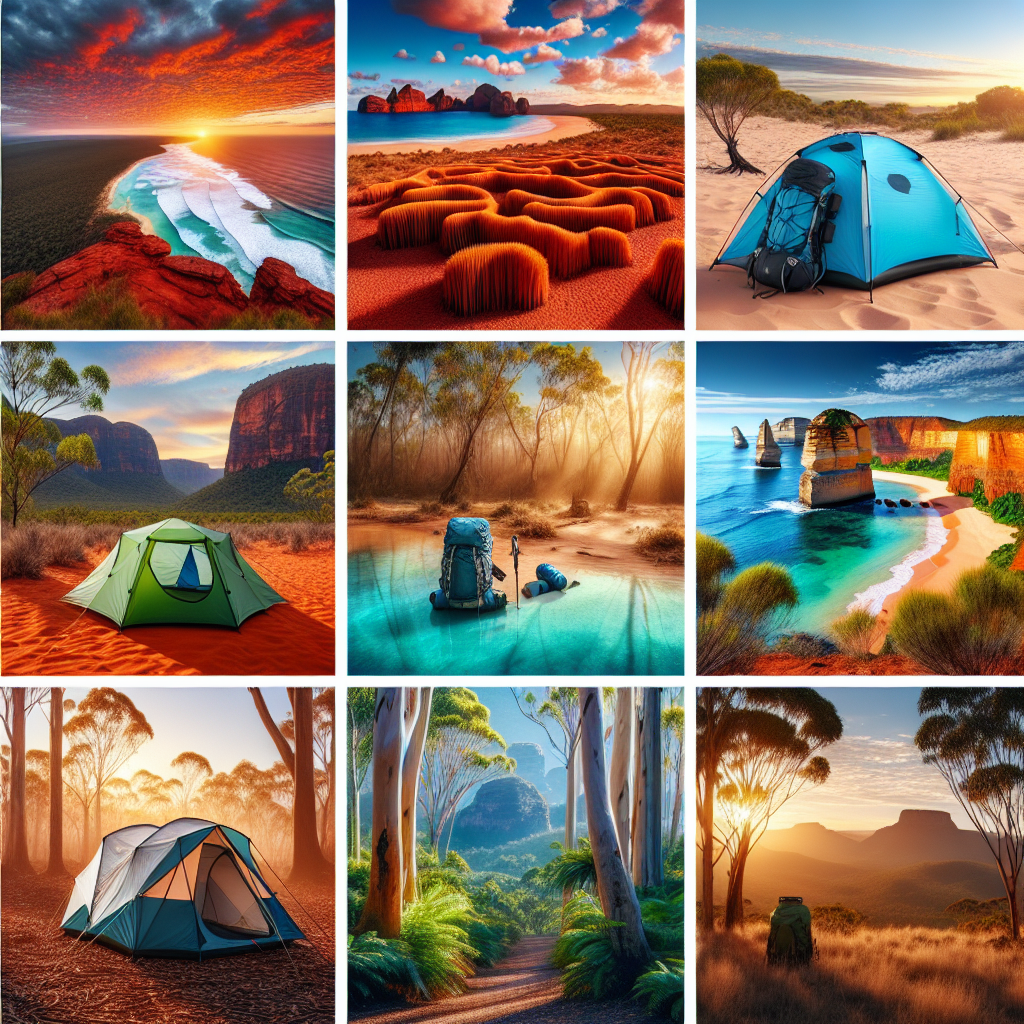
Affordable Lightweight Backpacking Tents: Top 10 for Solo Travelers
So, you’re itching to hit the trail solo, huh? That’s awesome! But before you start daydreaming about campfire coffee and starry nights, let’s talk tents. A good tent is your home away from home when you’re backpacking, especially when you’re flying solo. But let’s be real – you don’t need to empty your bank account to get a reliable shelter. This guide will walk you through ten of the best affordable, lightweight backpacking tents perfect for solo adventurers like you.
Why Lightweight and Affordable Matters
Right, so why are we so obsessed with lightweight and affordable? Let me explain. When you’re carrying everything on your back – food, water, gear – every ounce counts. Seriously. A heavy tent can turn a beautiful hike into a grueling slog. And let’s face it, backpacking can be an expensive hobby, so saving money on gear is always a plus. You know what I mean? More money for trail snacks! Plus, if you’re just starting out, dropping a ton of cash on a super fancy tent might not be the smartest move. You can always upgrade later as you get more into it.
What to Look for in a Solo Backpacking Tent
Okay, so what makes a tent a good fit for solo backpacking? Here are the key things to keep in mind:
- Weight: Aim for a tent that weighs under 3 pounds (or even less!). Every ounce makes a difference.
- Pack Size: How compact does it pack down? You want something that won’t take up too much space in your pack.
- Weather Resistance: Can it handle rain, wind, and maybe even a bit of snow? Seam-taped construction and a good rainfly are crucial.
- Ease of Setup: You’re solo, remember? You don’t want to wrestle with a complicated setup after a long day on the trail.
- Durability: Will it hold up to regular use? Check the fabric denier and pole quality.
- Ventilation: Condensation can be a real pain. Good ventilation will help keep you dry and comfortable.
- Price: Obviously! We’re looking for affordable options here.
It’s all about finding the sweet spot – the balance between weight, weather protection, durability, and price. It’s like Goldilocks trying to find the perfect porridge, but with tents.
Our Top 10 Affordable Lightweight Backpacking Tents for Solo Travelers
Alright, let’s get to the good stuff! Here are ten awesome tents that won’t break the bank and will keep you happy on your solo adventures. These aren’t in any particular order, by the way – it really depends on your specific needs and preferences.
1. Kelty Late Start 1
The Kelty Late Start 1 is a solid choice for beginners. It’s easy to set up (a definite plus when you’re tired after a long hike), and it’s relatively affordable. Kelty is a trusted brand, and this tent offers decent weather protection for its price point.
2. ALPS Mountaineering Lynx 1
The ALPS Mountaineering Lynx 1 is another budget-friendly option known for its durability. It’s a bit heavier than some of the others on this list, but it’s built to last. Plus, it features a full-coverage rainfly for added weather protection.
3. Eureka! Solitaire AL
Looking for something super compact? The Eureka! Solitaire AL is a bivy-style tent that’s incredibly lightweight and packs down small. It’s not the roomiest, but it’s perfect for minimalist backpackers who prioritize weight savings.
4. Naturehike Cloud-Up 1
Naturehike has been making waves with its affordable and lightweight gear. The Cloud-Up 1 is a popular choice among budget-conscious backpackers. It’s surprisingly well-made for the price and offers good weather protection.
5. Snugpak Ionosphere
The Snugpak Ionosphere is a robust, low-profile tent designed for stealth camping and harsh conditions. It’s a bit heavier than some of the others, but it’s built to withstand strong winds and heavy rain. If you’re expecting challenging weather, this might be a good option.
6. Winterial Single Person Bivy Tent
Similar to the Eureka! Solitaire, the Winterial Single Person Bivy Tent is another minimalist option for weight-conscious backpackers. It’s small, lightweight, and easy to set up. Perfect for those who want to travel light and fast.
7. TETON Sports Mountain Ultra 1 Tent
TETON Sports is known for its value-packed gear, and the Mountain Ultra 1 Tent is no exception. It’s a well-rounded tent that offers a good balance of weight, weather protection, and durability at an affordable price.
8. Featherstone Outdoor UL Granite 1-Person Backpacking Tent
Featherstone Outdoor focuses on lightweight gear, and the UL Granite 1-Person Backpacking Tent is one of their standout products. It’s incredibly lightweight and packs down small, making it a great choice for ultralight backpacking.
9. Ayamaya Pop Up Tent 1 Person
Need something ridiculously easy to set up? The Ayamaya Pop Up Tent 1 Person is… well, it pops up! It’s not the lightest option, but it’s incredibly convenient. Just toss it in the air, and it’s ready to go. Perfect for beginners or those who value ease of use.
10. GEERTOP Ultralight 1 Person Tent
The GEERTOP Ultralight 1 Person Tent is another budget-friendly option that doesn’t skimp on features. It’s lightweight, waterproof, and easy to set up. Plus, it comes in a variety of colors, so you can express your personal style.
Key Features to Consider: A Deeper Look
Okay, picking a tent is more than just grabbing the cheapest or lightest one. Let’s really unpack what these features mean for you on the trail. It’s easy to get lost in the jargon, so let’s make it relatable, shall we?
Weight: Ounces Equal Pounds (and Pain!)
Seriously, I can’t stress this enough. Imagine carrying a bag of sugar all day. Now imagine carrying *several* bags of sugar, plus water, food, and everything else. That’s what a heavy tent feels like after a few miles. Every ounce you can shave off your pack weight is a win. Aim for a tent that’s under 3 pounds, and if you’re really serious about going ultralight, look for something even lighter.
Think about it: you’re going to be hiking, setting up camp, taking down camp, probably doing some more hiking… all while hauling this thing. Lighter means more energy for enjoying the views and less chance of complaining to yourself (or your trail buddies, if you have any!).
Pack Size: Tetris Master
Your backpack is like a tiny apartment. Space is precious! You want a tent that packs down small so you have room for everything else – your sleeping bag, stove, food, first-aid kit, and that book you swore you’d read on the trail. A smaller pack size also makes it easier to maneuver through tight spots on the trail.
Some tents pack down like a rolled-up poster, while others look like a deflated basketball. The more compact, the better.
Weather Resistance: Your Fortress Against the Elements
This is non-negotiable. Your tent needs to be able to handle rain, wind, and maybe even a bit of snow (depending on where you’re backpacking). Look for these features:
- Seam-taped construction: This means the seams are sealed to prevent water from leaking in.
- Full-coverage rainfly: This is a waterproof outer layer that covers the entire tent, protecting you from rain and wind.
- Waterproof floor: A bathtub floor (where the sides of the floor are slightly raised) is a good feature to prevent water from seeping in.
- Sturdy poles: These need to be able to withstand strong winds. Aluminum poles are generally more durable than fiberglass.
Think of your tent as your personal weather shield. You wouldn’t go out in a storm with just a t-shirt, right? Same goes for your tent. Make sure it’s up to the task.
Ease of Setup: No Frustration Allowed
Trust me, you don’t want to be wrestling with a complicated tent setup after a long day of hiking. Look for a tent that’s easy to pitch, even in the dark or in bad weather. Freestanding tents (those that can stand up on their own without being staked down) are generally easier to set up.
Imagine you’ve hiked all day, you’re tired, hungry, and the sun is starting to set. The *last* thing you want is to be fiddling with complicated instructions and a tangle of poles. A simple, intuitive setup is your best friend.
Durability: Built to Last (Hopefully)
You want a tent that will hold up to regular use, not fall apart after a few trips. Check the fabric denier (a measure of fabric thickness – higher denier means more durable) and pole quality. Reinforcements at stress points (like where the poles attach to the tent) are also a good sign.
Think of it as an investment. A slightly more expensive, more durable tent will likely save you money in the long run because you won’t have to replace it as often. Plus, it’s better for the environment to buy something that lasts!
Ventilation: Bye-Bye Condensation
Condensation is the bane of every backpacker’s existence. It happens when warm, moist air inside the tent comes into contact with the cold tent walls. The result? You wake up with a wet sleeping bag. Yuck! Good ventilation will help minimize condensation. Look for tents with mesh panels and vents.
Imagine sleeping in a plastic bag – that’s what it can feel like if your tent doesn’t breathe. Ventilation helps keep the air circulating, reducing moisture buildup and keeping you comfortable.
Price: Finding the Sweet Spot
Obviously, you want a tent that fits your budget. But don’t just go for the cheapest option. Consider the features and quality. It’s often worth spending a little more to get a tent that will last longer and perform better.
There’s a sweet spot where affordability meets quality. And that’s what we’re aiming for!
Beyond the Basics: Extra Considerations
So, you know about weight, weather, and cost, but let’s nudge into some additional stuff that could really make your trip that much more enjoyable (or prevent it from being a total disaster, honestly).
Footprint: To Use or Not to Use?
A footprint is a ground cloth that goes under your tent. It protects the tent floor from abrasion and punctures. Some people swear by them, while others think they’re unnecessary weight. If you’re camping on rough terrain, a footprint is a good idea. You can buy a pre-made footprint or just use a piece of Tyvek or even a heavy-duty trash bag.
Think of it as a shield for your tent’s underside. It’s like putting a screen protector on your phone – it might seem annoying, but it can save you from serious damage in the long run. Plus, a footprint can make cleanup easier since you’re not dealing directly with the muddy ground.
Vestibules: Your Mudroom on the Trail
A vestibule is an extra covered area outside the tent door. It’s a great place to store your boots, pack, and other gear, keeping them out of the rain and out of your tent. Some tents have one vestibule, while others have two.
Imagine coming back to your tent after a muddy hike. Do you really want to bring all that dirt inside with you? A vestibule gives you a place to de-mud before you crawl into your sleeping bag. It’s like having a little mudroom for your tent.
Interior Storage: Organize Your Life
Pockets! Loops! Gear lofts! These are all features that help you keep your tent organized. Interior pockets are great for storing small items like your headlamp, phone, and snacks. Gear lofts (mesh nets that hang from the ceiling) are perfect for stashing bulky items like clothing.
Think of your tent as your home for the night. And just like at home, a little organization can go a long way. Interior storage helps you keep your gear tidy and prevents you from losing things in the dark.
Color: Seeing the Light (or Not)
Tent color is more than just aesthetics. Lighter-colored tents let in more light, which can make the interior feel more spacious. Darker-colored tents provide more privacy and can help you sleep better in the morning. Consider what’s more important to you.
Imagine waking up to bright sunlight streaming into your tent. That might be great if you’re an early riser, but not so much if you want to sleep in. A darker-colored tent can block out some of that light and help you get a better night’s sleep.
Solo vs. Two-Person Tents: Room to Spread Out?
Even though you’re backpacking solo, you might consider a two-person tent. It’ll be a bit heavier, yeah, but you’ll have much more room to spread out, store gear, and just generally be more comfortable. It all depends on your priorities. It’s a classic trade-off: weight versus comfort.
Here’s the thing: backpacking solo doesn’t mean you want to feel cramped all the time. A bit of extra space can make a big difference in your overall enjoyment of the trip. Think of it as upgrading from a studio apartment to a one-bedroom.
Caring for Your Tent: Making It Last
Alright, you’ve got your tent. Now, let’s talk about keeping it in tip-top shape so it lasts you for many adventures to come. A little maintenance goes a long way, honestly.
Cleaning: Getting Rid of the Grime
After each trip, clean your tent with a sponge and some mild soap and water. Pay special attention to the floor and the zippers. Avoid using harsh chemicals, as they can damage the fabric. Make sure the tent is completely dry before storing it.
Think of it as giving your tent a bath after a long day of hiking. Just like you, it needs to be cleaned and refreshed. Plus, a clean tent is less likely to attract mold and mildew.
Storing: Keeping It Dry and Safe
Store your tent in a cool, dry place, away from direct sunlight. Loosely stuff the tent into its stuff sack, rather than tightly folding it. This will help prevent creases and prolong the life of the fabric. Remove the poles and stakes and store them separately.
Imagine folding a piece of paper along the same lines over and over again – eventually, it’s going to tear. The same goes for your tent fabric. Loosely stuffing it prevents those harsh creases from forming.
Repairs: Patching It Up
Even with the best care, your tent might get a rip or tear. Carry a repair kit with you on the trail. It should include patches, seam sealer, and needle and thread. Small tears can be easily patched up with a bit of seam sealer and a patch. For larger tears, you might need to sew on a patch.
Think of it as having a first-aid kit for your tent. A little patch can prevent a small tear from turning into a big problem. Plus, it’s always a good idea to be prepared for the unexpected.
UV Protection: Shielding It from the Sun
Prolonged exposure to the sun can damage the tent fabric over time. If you’re camping in a sunny area, try to pitch your tent in the shade. You can also use a UV protectant spray to help protect the fabric.
Think of it as sunscreen for your tent. Just like your skin, the tent fabric can get damaged by the sun’s harmful rays. Protecting it will help prolong its life and keep it looking good.
Making the Final Decision: Your Perfect Tent Awaits
Whew! We’ve covered a lot. Picking the right tent can feel overwhelming, but hopefully, you now have a clearer idea of what to look for. Remember to prioritize weight, weather protection, durability, and price. Consider your specific needs and the type of backpacking you’ll be doing. And don’t be afraid to read reviews and ask for recommendations from other backpackers.
Ultimately, the best tent is the one that you’re comfortable with and that meets your needs. So, do your research, try out a few different options if you can, and get ready to hit the trail!
External Links:
FAQ: Your Burning Questions Answered
Still got questions? I thought you might! Here are some common questions about affordable lightweight backpacking tents for solo travelers:
Disclaimer
Please be advised that camping and backpacking involve inherent risks. Weather conditions can change rapidly, and injuries can occur. Always inform someone of your hiking plans, carry appropriate safety gear, and be prepared for emergencies. The recommendations in this article are based on general knowledge and experience, but you should always assess your own skill level and the specific conditions of your chosen trail. The prices and availability of products mentioned may vary. Users should conduct their own research and assessments.
Categories
- Navigation & Safety (68)
- Shelter & Sleep (72)
Top rated products
-
 Ultimate AONIJIE Soft Flask 1000 ml/2000 ml with Water Filter Rated 5.00 out of 5
$41.58Original price was: $41.58.$28.98Current price is: $28.98. -
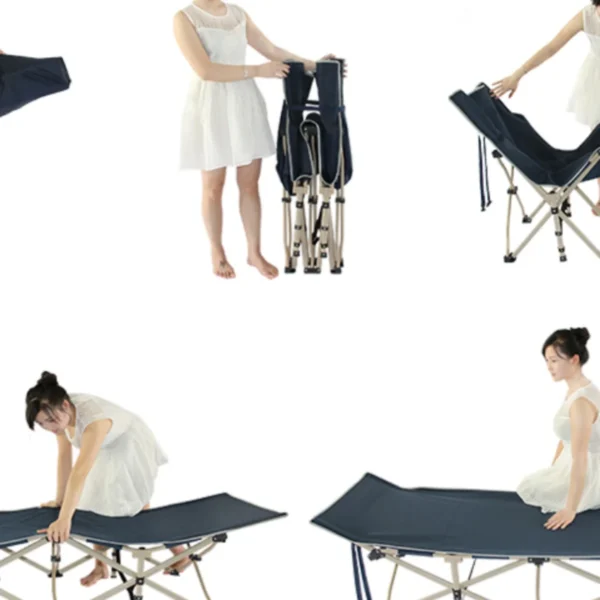
Portable Folding Bed for Office Naps & Outdoor Adventures Rated 5.00 out of 5$168.06 – $305.16Price range: $168.06 through $305.16
-
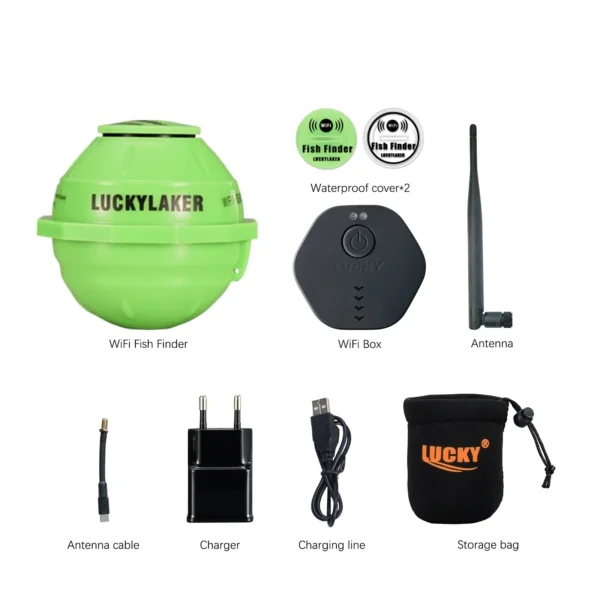
Revolutionize Your Fishing with Lucky Smart Wi-Fi Fish Finder Rated 5.00 out of 5
$197.75Original price was: $197.75.$137.82Current price is: $137.82.

Product Gallery
-
 Ultimate 2-3 Person Inflatable Kayak for Fishing Fun Rated 5.00 out of 5$1,081.72 – $1,095.09Price range: $1,081.72 through $1,095.09
 -
VEVOR 550 lb Heavy-Duty Folding Wagon & Bench for Adventurers
$155.14 – $252.20Price range: $155.14 through $252.20
-
BISINNA One-Touch Titanium Tent for 3-4 Campers, Adventure Ready Rated 4.36 out of 5
$311.78Original price was: $311.78.$217.30Current price is: $217.30.


 Camping Gear
 Camping Chair
 Camping Table
 Camping Bed
 Sleeping Gear
 Storage Bags
 BBQ Portable
 Sleeping Bags
 Camping Tents
 Gazebos
 Outdoor Cooler
 Cookware
 Power
Power Camping Light
 Flashlight
 Portable Solar
 Power Banks
 Fish Finders
 Fishing Bags
 Fishing Jerseys
 Fishing Reels
 Fishing Chairs
 Fishing Bait Boat
 Fishing Floats
 Hard Baits
 Hiking Vests
 Outdoor Bags
 Water Filters
 Paracord
 Walkie Talkie
 Paddleboards
 Boats
Boats Sea Scooter
 Accessories
 Electric Bike
 Electric Scooter
Recent Comments