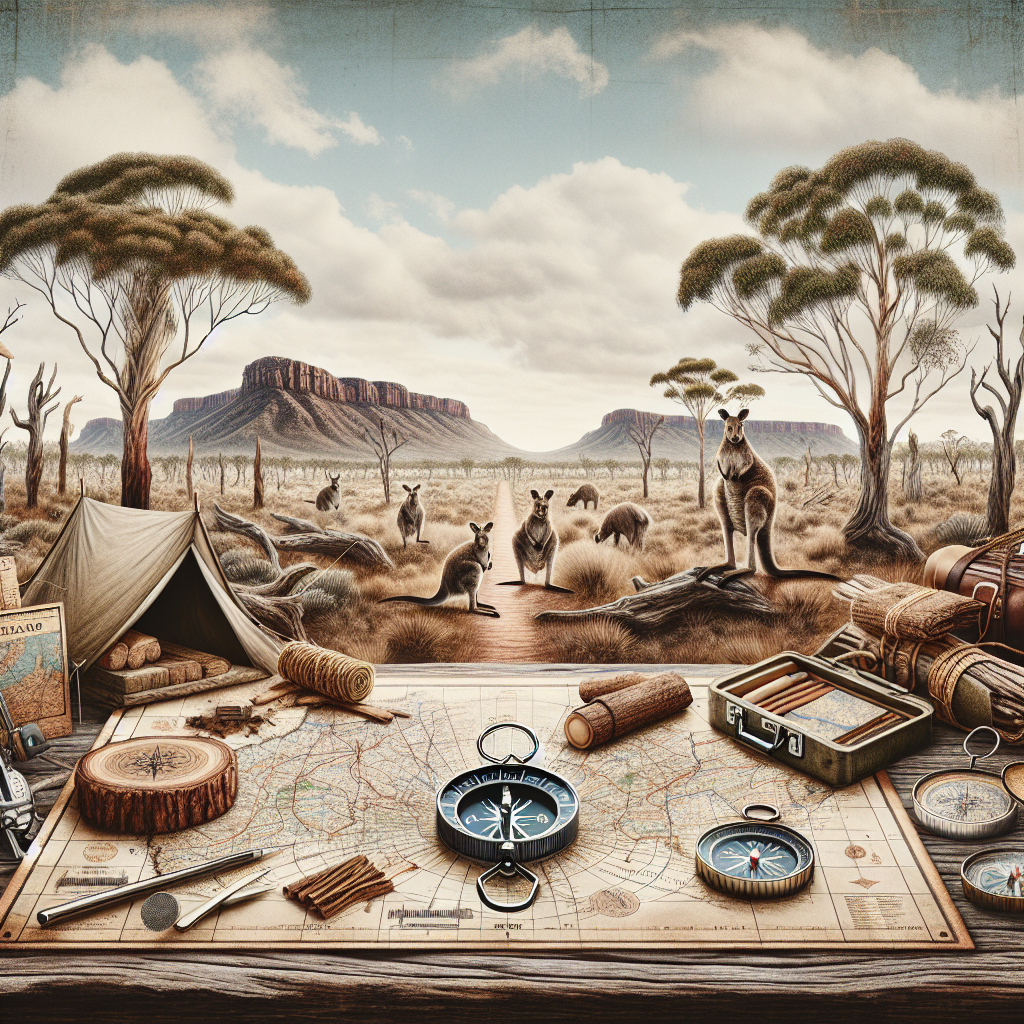
Unlock the Wilderness: Map and Compass Skills for Unforgettable Camping Trips
So, you’re dreaming of a camping trip, huh? Picture this: crisp mountain air, the scent of pine, and a sky full of stars. Sounds great, right? But before you head off into the great unknown, let’s talk about something crucial: navigation. Ditching the GPS and cellular devices and learning how to use a map and compass is not just a skill; it’s a lifeline. Think of it as your trusty sidekick in the wilderness—always reliable, no batteries needed.
Why Map and Compass? Seriously?
Okay, I get it. We live in an era of smartphones and GPS gadgets that promise to guide us anywhere. But what happens when your battery dies, or you lose signal miles from civilization? That’s when a map and compass become your best friends. Seriously. It’s about being self-reliant. It’s about connecting with nature on a deeper level by understanding the landscape around you. And honestly, there’s a real sense of accomplishment that comes from navigating using these time-tested tools. Plus, wouldn’t you agree that developing a sense of self-reliance can be a really empowering experience?
Understanding Topographic Maps: More Than Just Lines on Paper
A topographic map, often called a topo map, is a two-dimensional representation of a three-dimensional landscape. It uses contour lines to show the shape and elevation of the terrain. These lines connect points of equal elevation, providing a visual depiction of hills, valleys, and slopes. Imagine slicing through a mountain horizontally at regular intervals; the edges of those slices are what contour lines represent.
Spacing between contour lines indicates the steepness of the slope. Closely spaced lines mean a steep slope, while widely spaced lines indicate a gentle slope. Contour lines also form specific patterns that represent different land features, such as ridges, valleys, and peaks. These patterns are key to understanding the lay of the land.
Topo maps use a variety of symbols to represent natural and man-made features, and the ability to recognize these at a glance can speed up your navigation on the trails. Blue lines usually denote rivers, streams, and lakes. Green shading often indicates wooded areas, while white areas are generally open terrain. Man-made features such as roads, buildings, and trails are shown with black or red lines and symbols. Roads, for example, use different line weights and styles to indicate the road type and condition. A legend, or key, is included on every map to explain all of these symbols, so always take a moment to familiarize yourself with it before hitting the trail. Trust me, it’ll make navigating much easier.
Different maps will have different scales, like 1:24,000, signifying the ratio between distance on the map and the corresponding distance on the ground. A 1:24,000 scale map means that one inch on the map equals 24,000 inches (or 2,000 feet) on the ground. Choosing the right scale depends on the level of detail you need; smaller-scale maps cover larger areas with less detail, while larger-scale maps provide more detailed views of smaller areas.
Deciphering the Compass: Your Magnetic Wingman
The compass is more than just a needle pointing north. Its components work together to provide accurate bearings and directions. Knowing each part will unlock its full potential.
- Baseplate: The clear, rectangular base, which allows you to lay the compass flat on a map.
- Magnetic Needle: The part that’s always trying to point towards magnetic north. It’s usually red on the north-pointing end.
- Rotating Bezel (or Azimuth Ring): This is the circular dial marked with degrees from 0 to 360. It allows you to set and follow specific bearings.
- Orienting Arrow: A fixed arrow inside the rotating bezel, used for aligning the compass with the map.
- Index Line (or Lubber Line): A line on the baseplate that you follow when taking a bearing. You look along this while navigating.
The magnetic needle is influenced by the Earth’s magnetic field, which is why it points to magnetic north—not true north (aka geographic north) that is used on most maps. The difference between the two is called magnetic declination, and this varies based on location and time. Failing to account for it can throw your navigation off by degrees, which can translate into significant distance as you traverse through the wilderness.
You can often find the declination information printed on your topo map, usually in the map’s margin. It’s shown as an angle, such as “14°E” (east) or “9°W” (west). To use your compass accurately, you must adjust your bearings to compensate for declination, but we will get into that later.
Mastering the Art of Taking a Bearing: Finding Your Way
Okay, let’s get down to brass tacks. Taking a bearing is essentially determining the direction from your current location to a distant point, like a landmark or a destination.
- Find Your Location and Target: Identify your current position on the map and the location of the distant object or destination you’re headed to.
- Lay the Compass on the Map: Place the compass on the map so that the edge of the baseplate lines up with both your current location and the destination.
- Orient the Compass: Rotate the entire compass until the orienting lines inside the compass housing are aligned with the north-south grid lines on the map. Make sure that the “N” on the compass housing points to the north on the map. Note: Ensure that the orienting arrow is pointing towards the top of the map.
- Read the Bearing: Find the degree mark on the compass housing that lines up with the direction of travel arrow (the arrow on the baseplate pointing towards your destination). This gives you the true bearing, which is the angle between magnetic north and your direction of travel to your destination.
Now, this bearing is true, but it needs to be converted to magnetic bearing, so that it can be followed. You’ll need to adjust this reading based on the magnetic declination for your area. “Declination? What’s that now?” It’s the angular difference between true north and magnetic north. You can find the declination for your area on your map. For instance, if the declination is 10° East, subtract 10° from your true bearing. If the declination is 10° West, add 10° to your true bearing.
Setting a Course: From Map to Trail
Once you have adjusted for declination and obtained your magnetic bearing, it’s time to translate that information from the map to the real world. Follow these steps:
- Rotate the Bezel: Hold the compass flat and rotate the bezel (the rotating ring around the compass face) until your desired magnetic bearing lines up with the direction-of-travel arrow on the baseplate.
- Orient Yourself: Hold the compass in front of you, making sure the direction-of-travel arrow points straight ahead. Turn your entire body until the red (north) end of the magnetic needle aligns with the orienting arrow inside the compass housing. This is sometimes referred to as “putting red in the shed.”
- Follow the Bearing: Once the needle is aligned, the direction-of-travel arrow will point you in the correct direction. Pick a landmark in the distance that lies along this line, walk to it, and then repeat the process.
Remember to keep checking your bearing as you go, especially in areas with dense vegetation or uneven terrain. Drifting off course can happen easily if you’re not vigilant.
Staying on Course: Avoiding the Common Pitfalls
So, what are some common mistakes you might make when using a map and compass? How can you avoid them? First, not accounting for magnetic declination is a big one. Always adjust your bearings, or you’ll end up going in the wrong direction. Think of it as forgetting to convert kilometers to miles—the difference adds up.
Another common error is misreading the map. Double-check the scale, contour lines, and symbols to ensure you know what you’re looking at. It’s easy to mistake a small hill for a large one if you don’t pay attention to the contour intervals. Also, being careless in following your bearing can lead to errors. Make sure to take your time, double-check your landmarks, and don’t get distracted. As much as squirrels are curious and friendly, it’s important to focus and stay on course.
Terrain association is another crucial skill. This means using the features around you to help you stay oriented. Look for distinctive landmarks like unusually shaped trees, rock formations, or streams. Compare what you see around you with what’s on the map to confirm your location. By cross-referencing these visual cues with the map, you can navigate with greater confidence and precision.
Advanced Techniques: Taking Resections and Triangulation
What if you’re lost? Or maybe you’re not quite sure of your current location? No worries! Resection and triangulation are advanced techniques that can help you pinpoint your position using bearings to known landmarks.
Resection involves taking bearings to two or more known landmarks, plotting those bearings on your map, and finding the point where the lines intersect. This intersection is your approximate location. Here’s how to do it:
- Identify Landmarks: Choose two or three landmarks that you can positively identify on both the ground and on your map. The further apart the landmarks are, the more accurate your resection will be.
- Take Bearings: Use your compass to take accurate bearings to each of the landmarks. Record these bearings.
- Convert Bearings: Make sure to convert each of your magnetic bearings to true bearings by applying declination.
- Plot Bearings: On your map, locate the landmarks you used. From each landmark, draw a line along the back bearing (reciprocal of the true bearing) with a protractor or by using coordinate points. The point where the lines intersect is your approximate location.
Triangulation involves using bearings from two known locations to find the location of an unknown object. Think of it as the opposite of resection. It’s handy when you need to find a hard-to-locate object or feature.
Camp Security and Navigation: Staying Safe Out There
Navigating isn’t just about reaching your destination; it’s also about ensuring your safety and security, particularly in your campsite. A well-chosen and managed campsite can significantly enhance your overall outdoor experience.
When choosing a location, consider factors like proximity to water, shelter from the elements, and potential hazards. Avoid setting up camp directly under trees with dead branches (“widow-makers”) or in low-lying areas that could flood during heavy rain. Look for a relatively flat, dry spot that’s protected from strong winds. Clear the area of any sharp objects or debris that could puncture your tent or cause injury.
Before dark, take the time to orient yourself to your surroundings. Note any landmarks, paths, or prominent features around your camp. Walk a short distance in each direction, familiarizing yourself with the terrain. This is especially useful if you need to leave camp at night. At night, the dark will mask daytime landmarks so use the compass to orient yourself with notable objects such as the north star or a water source.
Here are some camp safety tips:
- Keep a Clean Camp: Store food properly to avoid attracting animals to your campsite. Use bear-resistant containers or hang food bags from a tree, at least 10 feet off the ground and 4 feet from the trunk.
- Be Aware of Weather: Monitor weather forecasts and be prepared for sudden changes. Know the signs of approaching storms, and have a plan for seeking shelter if necessary.
- Stay Visible: Use reflective tape on your tent and gear to make it easier to find your way back to camp in the dark. A headlamp with a red light function can help preserve your night vision.
- Leave No Trace: Pack out everything you pack in, minimize campfire impacts, and respect wildlife. Follow Leave No Trace principles to protect the environment for future campers.
Visit the Leave No Trace Center for Outdoor Ethics for more information so you can leave the wilderness in the condition you found it.
Packing Your Navigation Kit: What You Need
A well-prepared navigation kit is essential for any camping trip. Here’s what you should include:
- Compass: A reliable baseplate compass with a declination adjustment.
- Topographic Maps: Up-to-date topographic maps of the area you’ll be exploring.
- Waterproof Map Case: To protect your maps from rain and moisture.
- Pencil and Paper: For making notes, calculations, and marking your map.
- Ruler or Straightedge: For measuring distances on the map.
- Whistle: For signaling in case of emergency.
- Mirror: For signaling and personal care.
- Headlamp or Flashlight: With extra batteries for navigating in the dark.
- GPS Device (Optional): As a backup, but don’t rely on it solely.
Consider adding a small repair kit for your compass and other gear, just in case something breaks. Duct tape, a small knife, and some cord can be invaluable in the field.
Practicing Before You Go: Hone Your Skills
“How can I get ready to hit the trails with confidence; with my map and compass in hand?” The best way to improve your map and compass skills is to practice regularly. Start in familiar areas, like local parks or trails, before venturing into the backcountry. Use online resources to find practice courses. These courses often involve navigating to specific points using a map and compass. They’re a great way to test and sharpen your skills.
Set up your own practice scenarios. Hide an object in your yard or nearby park and use your map and compass to find it. Time yourself to make it more challenging. This will help you build confidence and speed. Think of it as a treasure hunt, but with real-world benefits.
Join a local orienteering club. Orienteering is a competitive sport that involves navigating through unfamiliar terrain using a map and compass. It’s a fun and challenging way to improve your navigation skills and meet other outdoor enthusiasts.
Check out Orienteering USA for clubs and events near you. They often hold workshops and training sessions.
Parting Wisdom
Mastering map and compass skills is like learning a new language; it takes time, dedication, and practice. But the rewards are immeasurable. Not only will you be better prepared for outdoor adventures, but you’ll also develop a deeper connection with the natural world. It’s about more than just getting from point A to point B; it’s about understanding the landscape, trusting your instincts, and embracing the journey.
FAQ Section
DISCLAIMER
Navigating in the wilderness can be hazardous. This article provides general guidelines, but it is essential to gain practical experience and training from qualified instructors. Always assess your skills, the terrain, weather conditions, and potential hazards before embarking on any outdoor adventure. The author and publisher are not responsible for any injury, loss, or damage resulting from the use of the information in this article. Make sure you research and take safety measures before you embark on any challenging adventures, in case there’s inclement weather.
Categories
- Navigation & Safety (68)
- Shelter & Sleep (72)
Top rated products
-
 Ultimate AONIJIE Soft Flask 1000 ml/2000 ml with Water Filter Rated 5.00 out of 5
$38.70Original price was: $38.70.$26.97Current price is: $26.97. -
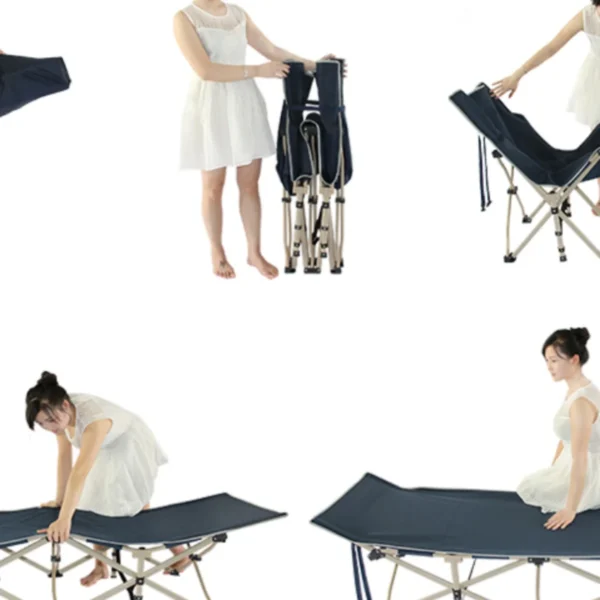
Portable Folding Bed for Office Naps & Outdoor Adventures Rated 5.00 out of 5$168.06 – $305.16Price range: $168.06 through $305.16
-
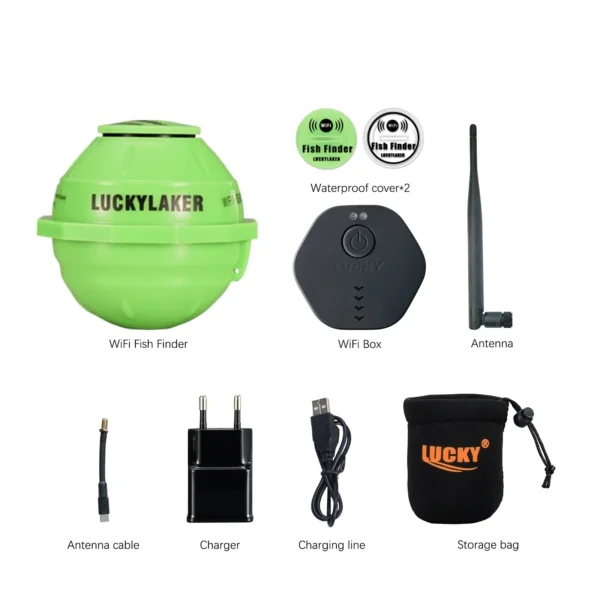
Revolutionize Your Fishing with Lucky Smart Wi-Fi Fish Finder Rated 5.00 out of 5
$197.75Original price was: $197.75.$137.82Current price is: $137.82.

Product Gallery
-
 Ultimate 2-3 Person Inflatable Kayak for Fishing Fun Rated 5.00 out of 5$1,092.43 – $1,105.95Price range: $1,092.43 through $1,105.95
 -
VEVOR 550 lb Heavy-Duty Folding Wagon & Bench for Adventurers
$155.14 – $252.20Price range: $155.14 through $252.20
-
BISINNA One-Touch Titanium Tent for 3-4 Campers, Adventure Ready Rated 4.36 out of 5
$311.78Original price was: $311.78.$217.30Current price is: $217.30.


 Camping Gear
 Camping Chair
 Camping Table
 Camping Bed
 Sleeping Gear
 Storage Bags
 BBQ Portable
 Sleeping Bags
 Camping Tents
 Gazebos
 Outdoor Cooler
 Cookware
 Power
Power Camping Light
 Flashlight
 Portable Solar
 Power Banks
 Fish Finders
 Fishing Bags
 Fishing Jerseys
 Fishing Reels
 Fishing Chairs
 Fishing Bait Boat
 Fishing Floats
 Hard Baits
 Hiking Vests
 Outdoor Bags
 Water Filters
 Paracord
 Walkie Talkie
 Paddleboards
 Boats
Boats Sea Scooter
 Accessories
 Electric Bike
 Electric Scooter
Recent Comments