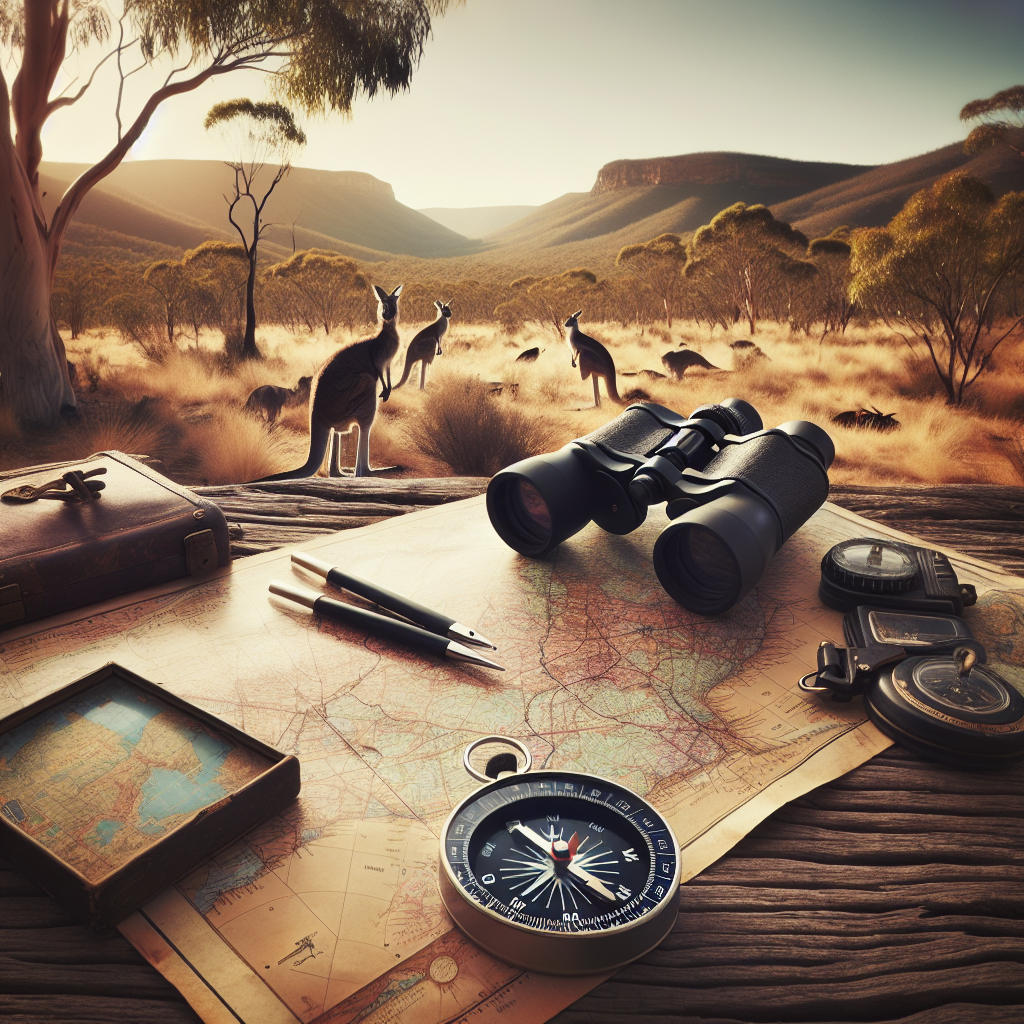
Ever felt that thrill of standing at a trailhead, topo map in hand, ready to conquer the unknown? It’s an incredible feeling, but let’s be real – topo maps can seem like cryptic puzzles at first glance. Don’t stress! This guide is your friendly translator, turning those lines and symbols into a clear picture of the land ahead, ensuring your camping trips are safe, informed, and unforgettable. We’ll get you from “huh?” to “aha!” in no time.
Why Bother with Topo Maps Anyway?
Okay, why not just use your phone, right? Well, batteries die, signals vanish, and Mother Nature has a wicked sense of humor. Topo maps are the ultimate backup plan. They provide a detailed representation of the terrain, showing hills, valleys, rivers, forests, and even human-made features. Knowing how to read them empowers you to make informed decisions about your route, assess potential hazards, and, more importantly, find your way back! It’s like having a secret window into the landscape itself. Plus, there’s something deeply satisfying about mastering a skill that connects you to the land in a visceral way. And that feeling of self sufficiency? Priceless.
Understanding Contour Lines: The Language of the Land
Think of contour lines as the DNA of a topo map, the key ingredient to unlock it’s secrets. They are the curvy lines snaking across the map that indicate elevation. A single line connects points of equal elevation. So, everything along that line is at the same height above sea level. The closer the lines are together, the steeper the terrain. Wide spacing? Gentle slopes. Imagine ants marching along the same level. Easy peasy, right?
Contour Intervals: The Ruler of Elevation
Notice how the map mentions a “contour interval” somewhere around the legend? That’s the elevation difference between adjacent contour lines. Imagine stairs. The contour interval is the height of each step. A small interval means gentle slopes, great for easy hiking. A large interval? Get ready for a climb! It can drastically change the difficulty of your hike. So, pay attention!
Reading the Terrain: Hills, Valleys, and Saddles, Oh My!
Contour lines create patterns revealing nature’s shapes. Concentric circles? That’s a hill or a mountain. Closed contours with hachure marks (little lines pointing inward)? A depression or pit. V-shaped contours pointing uphill? A valley or stream. A saddle? It’s a low point between two higher elevations, like a dip on a horse’s back. These shapes aren’t just pretty; they tell you about the lay of the land. Thinking of hiking to that hilltop? The lines help you calculate what the hike will actually be like.
Deciphering Map Symbols: The Campground Rosetta Stone
Topo maps are packed with symbols, each telling a story. These aren’t random doodles – they’re standardized representations of objects and features in the real world, like campgrounds, trails, buildings, and vegetation. Think of it as learning a whole new language, one symbol at a time. Grab a map legend; it is your decoder ring.
Essential Symbols: Roads, Trails, and Water Features
Roads: Usually represented by different line weights and colors. Trails: Dotted or dashed lines, sometimes labeled with names. Water features (rivers, lakes, streams): Generally blue, indicating life’s most precious resource. The legend will differentiate between types of roads. A thick red line is a major highway; a thinner dashed is more like a dirt road. You should keep an eye on distances between trails, and what type of trail is listed on the legend. Is it an easy walk on a well maintained state park path? Or a treacherous unmarked route that only experts should attempt? And water is crucial! Mark water sources on your map.
Campgrounds, Buildings, and Other Man-Made Features
Campgrounds: Usually marked with a tent symbol or a rectangle. Buildings: Small squares or rectangles. Power lines: Dashed lines with small tick marks. Understanding these symbols helps you locate resources, shelters, and potential hazards. This is where planning your stops happen: figuring out where you’ll camp, how long you have until you arrive, and if there are better alternatives if a campground is full.
Vegetation and Land Cover: Forested Areas and Open Fields
Green areas typically indicate forests or wooded areas. White or open areas indicate fields, meadows, or barren land. Knowing the land cover can influence your route choice and campsite selection. You know what? This is where you start thinking about things like sun exposure, wind protection, rain cover, and so forth. A map quickly informs you if you will traverse an exposed, windy area that’s perfect for getting sunburned, and where you might consider taking cover.
Map Scale and Distance: How Far is That Peak, Really?
Scale tells you the relationship between distances on the map and distances in the real world. For example, a scale of 1:24,000 means one inch on the map equals 24,000 inches (or 2,000 feet) on the ground. Understanding scale helps you estimate distances and plan your route accurately.
Understanding Map Scales: Ratios and Representations
Small-scale maps (e.g., 1:100,000) cover large areas with less detail. Large-scale maps (e.g., 1:24,000) cover smaller areas with more detail. Choose a scale that suits the length and detail of your trip. Honestly, it’s like zooming in and out on a photograph. A smaller scale gives you the big picture, while a larger scale lets you see the fine details.
Measuring Distance: Tools and Techniques
Use a ruler or a map measurer (an awesome little tool with a rolling wheel) to measure distances on the map. Then, use the map scale to convert that measurement to real-world distance. Some maps have a graphic scale bar printed on them, which is handy for quick estimates. Here’s the thing: practice makes perfect with distance estimation, so get out there and experiment!
REI’s guide to topo maps offers great examples of map scales and how to use them.
Calculating Travel Time: Factoring in Terrain and Elevation
Estimating travel time involves more than just distance. Factor in the terrain (steepness, vegetation, obstacles) and your fitness level. A general rule of thumb is Naismith’s Rule: estimate 1 hour for every 3 miles of walking, plus an additional 30 minutes for every 1,000 feet of elevation gain. This may not be exact. But it certainly helps!
Orienting the Map: Aligning with Reality
Orienting the map means aligning it with the terrain. This simple act transforms a flat piece of paper into a window looking into the land around you. Knowing how to do this is one of the most fundamental skills in navigation. So make sure that you understand it!
Using a Compass: Finding North and Aligning the Map
A compass is your best friend for map orientation. Place the compass on the map and align the edge of the compass with magnetic north on the map’s declination diagram. Rotate the map and compass together until the compass needle aligns with magnetic north. Now the map is oriented, and the features on the map should match the features you see around you.
Identifying Landmarks: Connecting Map to Ground
Identify prominent landmarks (peaks, rivers, buildings) on both the map and the ground. Use these landmarks to confirm your location and orientation. This is where knowing the map symbols comes in: “Okay,” you might ask yourself, “that distinct peak on my left — is that peak shown on my map? And is the river to my right also shown?”
Backsight and Resection: Pinpointing Your Location
Backsighting involves taking a compass bearing to a known landmark and drawing a line on the map. Resection involves taking bearings to two or more known landmarks and triangulating your position. These techniques are invaluable when you’re unsure of your location.
Dummies.com breaks down the concept of triangulation with a clear explanation.
Declination: The Compass’s Tricky Little Secret
Magnetic north (where your compass points) isn’t the same as true north (the geographic North Pole). The angle between them is called declination, and it varies depending on your location. You NEED to account for declination when navigating with a map and compass. Otherwise, you’ll wander off course.
Understanding Magnetic North vs. True North
True north is a fixed point. Magnetic north moves slowly over time due to changes in Earth’s magnetic field. Maps usually show the declination angle and date of measurement. Update this if you’re using an old map. It’s easy to ignore this, but don’t do it. It makes a real difference, especially over long distances.
Adjusting for Declination: Easy Steps to Stay on Course
Adjusting for declination involves adding or subtracting the declination angle from your compass bearings. Whether you add or subtract depends on whether you’re east or west of the agonic line (the line where declination is zero). Your map legend will tell you the declination.
Local Declination Resources: Finding Accurate Information
You can find accurate declination information for your location from online resources like the National Centers for Environmental Information or NOAA. Input your coordinates, and it’ll give you the current declination.
Combining Skills: Planning Your Camping Trip
All this knowledge comes together when planning a camping trip. Map reading enhances your pre-trip planning. Don’t just think about the destination; think about the journey.
Route Planning: Choosing the Best Path
Use the topo map to identify potential routes. Consider elevation changes, terrain features, water sources, and potential hazards. Mark your route on the map and note important waypoints. Is there a trail that follows the route you considered? This can be enormously helpful.
Campsite Selection: Finding the Perfect Spot
Use the map to identify potential campsites. Look for flat, sheltered areas near water sources. Avoid camping in valleys or depressions where cold air or water can accumulate. Check for potential hazards like dead trees or unstable slopes. No one wants to set up a tent and then realize it’s gonna be a bad experience.
Emergency Planning: Preparing for the Unexpected
Identify potential emergency routes and alternate campsites. Mark these on your map. Carry a first-aid kit, extra food and water, and a communication device (satellite phone or personal locator beacon). Let someone know your route and expected return time. It sounds very serious, but doing these things gives you an extra peace of mind when you are already planning a stressful trip, and things can go even more awry if you aren’t careful.
Practice Makes Perfect: Field Exercises and Drills
Reading topo maps is a skill that improves with practice. Get out there and use your maps! Start with simple exercises in familiar areas, and gradually increase the difficulty.
Start Simple: Practicing in Familiar Areas
Use topo maps in local parks or hiking trails. Orient the map, identify landmarks, and practice estimating distances. This builds confidence and reinforces your understanding.
Advanced Drills: Navigation Challenges and Simulations
Create navigation challenges for yourself or with friends. Set a series of waypoints and navigate to them using only a map and compass. Simulate emergency scenarios and practice using your emergency plan. The more prepared you are, the better.
Online Resources and Apps: Digital Tools for Map Skills
Use online resources such as USGS TopoView or apps like Gaia GPS or CalTopo to access digital topo maps and practice your skills. These tools offer features like route planning, GPS tracking, and offline map downloads.
USGS’s website on US Topo Maps offers a ton of resources including where to find and download maps!
Staying Safe: Ethical Considerations and Environmental Awareness
Navigating the backcountry involves more than just map reading. It also requires ethical considerations and environmental awareness. Leave No Trace principles are the foundation of responsible outdoor recreation. Be mindful of your impact on the environment, and respect the natural and cultural resources you encounter.
Leave No Trace: Minimizing Your Impact
Pack out everything you pack in. Minimize campfire impacts. Stay on established trails. Respect wildlife. These simple actions help preserve the wilderness for future generations. This applies to all areas, including more trafficked areas that you might not consider “wilderness”.
Respecting Wildlife: Observing from a Distance
Observe wildlife from a distance. Never feed wild animals. Store food properly to prevent attracting animals to your campsite. Be aware of potential hazards like bears, snakes, and insects. Keep a safe distance, and never approach a wild animal, not even if it looks friendly or cute.
Cultural Sensitivity: Respecting Indigenous Lands and Traditions
Be aware that many wilderness areas are located on or near indigenous lands. Respect indigenous cultures and traditions. Learn about the history and significance of the area. Obtain permission before entering or using indigenous lands. When we are outdoors, we are on someone else’s property. Be respectful.
Conclusion: Your Journey Awaits
Decoding topo maps is more than a skill—it’s an invitation to connect deeply with the land and the wild outdoors. Whether trekking through dense forests or scaling majestic peaks, your ability to read the landscape turns every journey into a richer, safer, and more profound experience. Grasping these maps isn’t just about where to go; it’s about enhancing the adventure itself. So, grab a map, lace up those boots, and step into the adventure that awaits!
Frequently Asked Questions
What is the best way to start learning to read topo maps?
Start with a simple map of a familiar area, focusing on identifying basic features like roads, trails, and water bodies. Practice orienting the map with a compass and relating the map to the terrain around you.
Do I need a special compass for reading topo maps?
A baseplate compass with a rotating bezel, declination adjustment, and a sighting mirror is ideal. These features allow for precise bearing measurements and declination correction.
How do I account for declination if my compass doesn’t have an adjustment?
Determine the declination for your area using an online resource. Then, add or subtract the declination angle from your compass readings before transferring those readings to your map. The map should explain whether you should be adding or subtracting.
What’s the difference between a topographic map and a standard road map?
A topographic map shows elevation changes using contour lines, providing information about terrain. A standard road map primarily focuses on roads and transportation routes without detailed elevation data.
Can I use a GPS instead of a topo map?
While GPS devices are useful, they rely on battery power and satellite signals, which can fail. Knowing how to read a topo map and use a compass is essential for navigation when technology fails.
How often are topographic maps updated?
The update frequency varies depending on the region and map publisher. It’s best to use the most current edition available as landscapes can change due to natural processes or human activities.
What are some common mistakes people make when reading topo maps?
Common mistakes include ignoring declination, misinterpreting contour lines, not orienting the map correctly, and failing to account for terrain when estimating travel time. The most important is not orienting the map, as this makes it hard to even understand which way you are looking!
DISCLAIMER
The information provided in this article is for general guidance only and should not replace professional training or expert advice. Navigation in the backcountry involves inherent risks. Always exercise caution, be prepared for unexpected conditions, and prioritize your safety. The author and publisher are not responsible for any accidents, injuries, or damages resulting from the use of this information.
Categories
- Navigation & Safety (68)
- Shelter & Sleep (72)
Top rated products
-
 Portable 10 W Solar Charger - Power Up Anywhere, Anytime Rated 5.00 out of 5
$37.39Original price was: $37.39.$26.06Current price is: $26.06. -
Tifgalop ES7 Pro 3000 W E-Bike: Speed Meets Adventure! Rated 5.00 out of 5$944.90 – $2,105.78Price range: $944.90 through $2,105.78
-
Ultimate Outdoor Water Filter Straw for Safe Hydration Adventures Rated 5.00 out of 5$17.21 – $18.21Price range: $17.21 through $18.21


Product Gallery
-
 VEVOR 550 lb Heavy-Duty Folding Wagon & Bench for Adventurers
$154.92 – $251.84Price range: $154.92 through $251.84
VEVOR 550 lb Heavy-Duty Folding Wagon & Bench for Adventurers
$154.92 – $251.84Price range: $154.92 through $251.84
-
BISINNA One-Touch Titanium Tent for 3-4 Campers, Adventure Ready Rated 4.36 out of 5
$310.92Original price was: $310.92.$216.70Current price is: $216.70. -
Airy Mesh Solo Hiking Tent - Lightweight & Mosquito-Proof Rated 4.71 out of 5
$89.10Original price was: $89.10.$62.10Current price is: $62.10.


 Camping Gear
 Camping Chair
 Camping Table
 Sleeping Bags
 Camping Bed
 Sleeping Gear
 Storage Bags
 BBQ Portable
 Camping Tents
 Gazebos
 Outdoor Cooler
 Cookware
 Power
Power Camping Light
 Flashlight
 Portable Solar
 Power Banks
 Fish Finders
 Fishing Bags
 Fishing Jerseys
 Fishing Reels
 Fishing Chairs
 Fishing Bait Boat
 Fishing Floats
 Hard Baits
 Hiking Vests
 Outdoor Bags
 Water Filters
 Paracord
 Walkie Talkie
 Paddleboards
 Boats
Boats Sea Scooter
 Accessories
 Electric Bike
 Electric Scooter
Recent Comments