Why Navigation Skills are a MUST for Campers
Alright, let’s get straight to the point: getting lost in the woods kinda sucks. More than that, it can be genuinely dangerous. That’s why, before you even think about pitching a tent or roasting marshmallows, you gotta get a handle on navigation. We’re not talking about just vaguely knowing where north is – we’re talking about real, tangible skills that’ll keep you safe and sound while you’re out communing with nature. Think of it as your wilderness superpower. Ready to earn it?
The Core Components of Your Navigation Toolkit: What You Absolutely Need
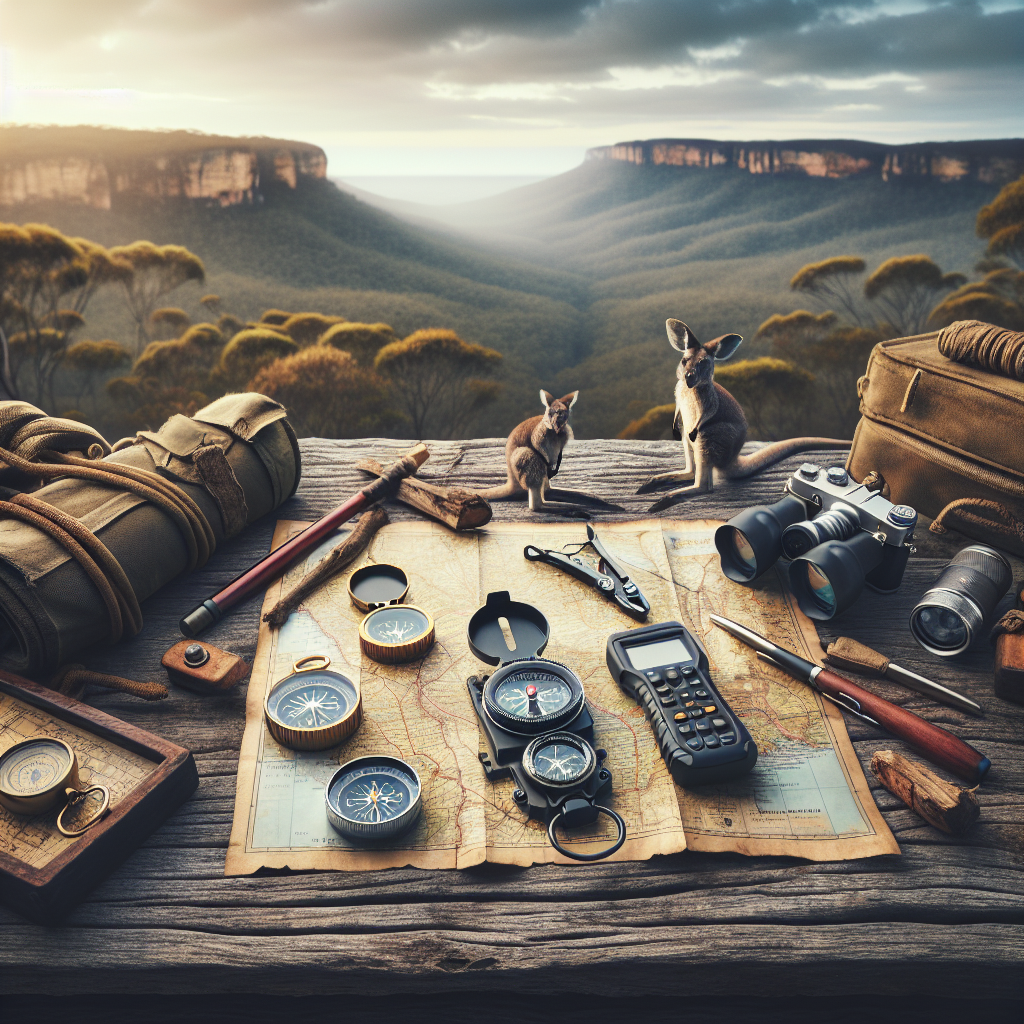
So, what exactly do you need to become a backcountry navigator? It’s not as daunting as it sounds. Forget those sci-fi movies – you don’t need a spaceship’s control panel. Instead, focus on a few key tools. This is where we put together your survival kit. Here’s a rundown of what should be in your backpack before you head for the hills.
1. The Compass: Your Trusty Direction Finder
First up: the compass. This bad boy has been around for centuries, and for good reason. It’s reliable, doesn’t need batteries, and will always point you toward magnetic north. A good quality compass is more than just a needle and a dial. A baseplate compass is the go-to for most campers; it lets you easily align the compass with a map. Trust me, trying to find your way without one is like trying to drive a car blindfolded. Don’t do it.
2. Maps: More Than Just Pretty Paper
Next, we have maps. I know, in this digital age, maps seem almost quaint. But a good topographic map is worth its weight in gold. It shows you elevation changes, water sources, trails, and all sorts of other critical information that your phone simply can’t provide when the signal drops (and it will drop). Learn how to read topographical maps. Contours, legends, and all that are essential skills.
3. GPS Device: When Tech is Your Friend
Now, let’s talk tech. A GPS device can be a lifesaver, but don’t rely on it entirely. Batteries die, screens break, and satellites sometimes take a nap. Use it as a supplement to your map and compass skills, not a replacement. Pre-load your routes, and carry extra batteries just in case. Oh, and learn how to use it before you’re staring down a mountain in the dark.
4. Altimeter Watch: Knowing Your Altitude
An altimeter watch is a cool piece of kit that tells you your altitude. It can be super useful for confirming your position on a map, especially in areas with significant elevation changes. Many GPS watches come with a built-in altimeter, combining multiple essential functions into one device. This device accurately measures barometric pressure to determine elevation. Make sure you calibrate it regularly!
5. Navigation Apps for Your Phone: A Double-Edged Sword
So, navigation apps: convenient, yes, but they’re also fraught with peril. I mentioned it earlier, but what happens when you lose service or your battery dies? Yeah, you get the picture. However, if you use navigation apps smartly (download maps offline, carry a power bank, etc.), they can be a neat tool. Apps like Gaia GPS or Avenza Maps can display your location on pre-downloaded topo maps, record your tracks, and provide other helpful features. But remember, these apps are there to support you, not save you.
Mastering the Basics: Compass, Map, and GPS Skills You MUST Know
Okay, now that you have your gear, let’s talk skills. Owning a compass doesn’t make you Magellan – you need to know how to use it. Here’s where theory meets the trail, where paper maps turn into real-world guides, and where GPS gadgets become reliable allies. Let’s transform tools into know-how, folks; pay attention.
1. Compass Basics: Finding Your Bearing
Learning to take a bearing with a compass is fundamental. You’ll need to know how to orient yourself to your existing location, and also how to take a bearing from a position on the map for an intended destination. It’s not as hard as it sounds. Start by holding the compass flat in your hand. Rotate the housing until the red end of the needle aligns with the north marking on the compass housing. Then, sight along the direction-of-travel arrow to your destination. Now you have your bearing. Walk in that direction, keeping the red end of the needle aligned with north. Practice this until it becomes second nature!
2. Map Reading 101: Decoding Contour Lines
Map reading can feel like learning a new language, but once you get the hang of it, the world opens up. Contour lines are one of the most important things to understand. These lines connect points of equal elevation; the closer the lines, the steeper the terrain. Being able to visualize the landscape from the map is a crucial skill. Also, learn to identify other symbols, like rivers, forests, and buildings. Take some time to study maps of areas you know well. Try following familiar trails on the map and visualizing the terrain you’ve hiked. This exercise really helps the information in the map “pop”.
3. Using a GPS: Waypoints and Routes
GPS devices allow you to mark waypoints (specific locations) and create routes (a series of waypoints). Before you even hit the trail, download offline maps and plan your route. Mark important waypoints, like your campsite, water sources, and any challenging sections of the trail. During your hike, check your GPS regularly to ensure you’re on course. Practice creating and following routes in a local park before relying on your GPS in the backcountry.”
4. Triangulation: Finding Your Location the Old-School Way
Triangulation is a classic technique for pinpointing your location using a map and compass. Find two or three landmarks you can identify, then take a bearing to each landmark. Transfer these bearings to your map (adjusting for magnetic declination, which we’ll talk about later). The point where the lines intersect is your approximate location. It’s a bit of a process, but it’s incredibly useful if your GPS fails you.
5. Pacing: How Far Have You REALLY Gone?
Pacing is another vital skill to master. This involves counting the number of steps you take to cover a known distance. Most people will find that two steps (a pace) equals approximately five feet, or slightly less than two meters. This conversion will depend on your gait. Now, you can estimate how far you’ve traveled, which can be helpful when cross-referencing information on your map. Practice pacing on a trail to get a sense of your natural stride. Over time, you’ll develop a pretty accurate sense of distance.
Advanced Navigation Techniques: Taking Your Skills to the Next Level
So, you’ve nailed the basics? Great! Now, let’s get into some of the good stuff. This is where navigation starts to feel less like a chore and more like an art. We’re talking about the subtleties, the strategies, and the little tricks that separate a competent hiker from a true backcountry navigator. Buckle up; we’re going deeper.
1. Understanding Magnetic Declination: True North vs. Magnetic North
Magnetic declination is the angle between true north (geographic north) and magnetic north (where your compass needle points). This angle varies depending on your location and changes over time. You need to adjust your compass bearings to account for declination; otherwise, you’ll end up off course. Topographic maps usually indicate the declination for the area. Learn how to adjust your compass for declination, keeping in mind that this adjustment can differ greatly depending on your global location. The U.S. Geological Survey website (external link: USGS) offers a declination finder as a great reference.
2. Terrain Association: Reading the Land
Terrain association is the art of using natural features to guide you. This involves interpreting the shape of the land (hills, valleys, ridges), vegetation patterns, and water sources to confirm your position and direction. It’s about “reading” the landscape like a book. It’s a skill that develops over time, but you can start by paying close attention to your surroundings. Try to match what you see on the map with what you see on the ground. Ask yourself questions. Where is the sun shining? Where are the shadows? Am I near a stream? These clues can paint a vivid picture and provide confidence.
3. Night Navigation: When the Sun Goes Down
Navigating at night presents a whole new set of challenges. Visibility is limited, landmarks disappear, and disorientation can set in quickly. Use a headlamp with a red light to preserve your night vision. Rely heavily on your compass and GPS to stay on course, and keep a close eye on the time and your pace. Always plan your route so you arrive at your destination before dark, if possible. If camping, place reflective markers along a trail. If you’re caught out unexpectedly, find a safe place to stop and wait for dawn. This might seem obvious, but in survival situations, it can be life-saving.
4. Navigating in Poor Visibility: Fog and Snow
Fog and snow can make navigation incredibly difficult. Visibility drops to near zero, landmarks vanish, and trails disappear under a blanket of white. In these conditions, it’s even more crucial to rely on your compass and GPS, and to move slowly and deliberately. Pay close attention to the terrain at your feet. If you’re following a trail, use your trekking poles to probe ahead and check for drop-offs or other hazards. If you’re lost, don’t panic. Stay put and wait for the weather to clear. If you must move, proceed with extreme caution. When this happens, many people choose to trigger the SOS function on their GPS devices because they feel genuinely endangered.
5. Route Planning and Contingency: Anticipating the Unexpected
Careful route planning is essential for safe backcountry navigation. Before you set out, study your map, identify potential hazards, and plan alternative routes in case of unexpected problems. Always tell someone about your plans, including your route, estimated return time, and emergency contact information. Carry extra food, water, and clothing in case you are delayed and create what’s commonly called a “bail out” plan. One thing is for sure – Murphy’s Law applies in the backcountry!
Camp Security and Navigation: Staying Safe at Your Campsite
Okay, what about once you *get* to your campsite? Navigation doesn’t stop when you pitch your tent. In fact, your navigation skills play a crucial role in keeping your camp safe and secure. This is about more than just not tripping over tent lines in the dark. We’re going to focus on practical tactics for campsite safety – because a safe camp is a happy camp, right?
1. Choosing a Safe Campsite: Location, Location, Location
Selecting a safe campsite is paramount. Avoid camping in low-lying areas that could flood, under dead trees that could fall, or near animal trails that could lead to unwanted encounters. Look for a level spot away from hazards, with good drainage and access to water (but not *too* close to the water). Consider the prevailing winds and orient your tent accordingly. When you arrive at the site with the intention of setting up camp, take a moment to study the site area with a map and compass. It might seem strange, but orienting the site correctly on your map enhances safety and peace of mind.
2. Establishing Boundaries: Staying Oriented Around Camp
When you arrive at your campsite, take a moment to familiarize yourself with the surroundings. Mark out clear boundaries around your camp. You don’t need to put up fences, but make a mental note of prominent landmarks that define the perimeter of your site. This is especially important in dense forests where it’s easy to get disoriented. When people leave camp to gather firewood or use the bathroom, they instinctively understand how far they can range before feeling like they are “outside” camp.
3. Nighttime Navigation Around Camp: Avoiding Accidents
Navigating around camp at night can be tricky. Use a headlamp or flashlight to avoid tripping over tent lines, tree roots, or other obstacles. Place reflective tape on tent lines and guy-outs to make them more visible. Keep a light inside your tent so it’s easy to find your way back if you wander off (we’ve all been there: “I just need to pee!”). Teach children these principles when camping to protect them.
4. Emergency Signaling from Camp: Being Prepared
In an emergency, you may need to signal for help from your campsite. Keep a whistle, signal mirror, and brightly-colored cloth readily available. Know how to use these tools effectively. A whistle is a simple, lightweight way to attract attention. The accepted emergency signal is three blasts, repeated at regular intervals. A signal mirror can reflect sunlight over long distances. Aim the reflected light at passing aircraft or distant landmarks. These strategies make a huge difference in outcomes during an emergency.
5. Secure Food Storage: Keeping Critters Away
One of the most important aspects of camp security is proper food storage. Never leave food unattended in your tent or around your campsite. Store it in bear-resistant canisters, hang it from a tree (at least 10 feet off the ground and 4 feet from the trunk), or use designated food storage lockers if available. Clean up food scraps and spills immediately to avoid attracting animals. This not only protects your food but also keeps you and the wildlife safe. Nobody wants a midnight visitor!
Essential Gear Checklist: Your Navigation Starter Pack
Alright, let’s wrap this up with a handy checklist to review our guide. This is your go-to list to make sure you’re prepped with all the navigation essentials before you head out on a camping trip. Treat it like your pre-flight checklist before you jump into the cockpit. Let’s make sure you’re set!
- Compass: A reliable baseplate compass with adjustable declination.
- Maps: Topographic maps of your intended area, stored in a waterproof case.
- GPS Device: A handheld GPS unit with pre-loaded maps and extra batteries.
- Altimeter Watch: A watch that displays altitude and barometric pressure.
- Navigation Apps: Navigation apps on your smartphone, with offline maps downloaded.
- Headlamp/Flashlight: A headlamp or flashlight with extra batteries for nighttime navigation.
- Whistle: A whistle for signaling in emergencies.
- Signal Mirror: A signal mirror for reflecting sunlight.
- First-Aid Kit: A comprehensive first-aid kit with supplies for treating injuries and illnesses.
- Emergency Shelter: A lightweight emergency shelter, such as a tarp or bivy sack.
- Extra Food and Water: Enough food and water to last for several days in case of delays.
- Knife or Multi-Tool: A knife or multi-tool for various tasks.
Happy Trails!
There you have it! Navigation might sound intimidating at first, but with the right gear and a bit of practice, it can become an enjoyable and empowering aspect of your outdoor adventures. Stay safe out there, folks, and happy exploring!”
Frequently Asked Questions (FAQ)
True north is the geographic north pole, while magnetic north is the direction your compass needle points. The difference between the two is called magnetic declination and varies depending on your location.
Yes! GPS devices can fail due to dead batteries, broken screens, or satellite signal loss. A compass is a reliable backup that doesn’t rely on technology.
Most baseplate compasses have an adjustable declination setting. Consult your map or a declination finder to determine the declination for your area, then adjust your compass accordingly.
Store food in bear-resistant canisters, hang it from a tree (at least 10 feet off the ground and 4 feet from the trunk), or use designated food storage lockers if available. Never leave food unattended in your tent or around your campsite.
Study topographical maps of areas you know well. Try following familiar trails on the map and visualizing the terrain you’ve hiked. Practice identifying contour lines, symbols, and other map features.
Stay calm and avoid panicking. Try to retrace your steps to a known location. If you can’t, use your compass, map, and GPS (if available) to determine your position and direction. If you’re unable to navigate, find a safe place to stop and signal for help.
It’s extremely important! Always tell someone about your hiking plans, including your route, estimated return time, and emergency contact information. If you don’t return as expected, they can alert authorities and initiate a search.
DISCLAIMER
Please note that I am an AI assistant and cannot provide definitive safety advice. Navigation in the outdoors can be dangerous. Always consult with experienced guides, take appropriate safety precautions, and be aware of your limitations.
Categories
- Navigation & Safety (68)
- Shelter & Sleep (72)
Top rated products
-
 UNIKOO UK224 Mini Walkie Talkies: Adventure Awaits, Stay Connected! Rated 5.00 out of 5
$49.74Original price was: $49.74.$34.67Current price is: $34.67. -
Nature Bell 185 cm Folding Cot: Comfort On-the-Go Adventure Bed Rated 5.00 out of 5$35.61 – $37.99Price range: $35.61 through $37.99
-
Tactical Mini Flashlight: 150 Lumen Power for Glock & Hellcat Rated 5.00 out of 5
$122.88Original price was: $122.88.$85.65Current price is: $85.65.


Product Gallery
-
 Ultimate 2-3 Person Inflatable Kayak for Fishing Fun Rated 5.00 out of 5
$1,534.01Original price was: $1,534.01.$1,069.16Current price is: $1,069.16. -
VEVOR 550 lb Heavy-Duty Folding Wagon & Bench for Adventurers
$154.27 – $250.78Price range: $154.27 through $250.78
-
Adventure-Ready Ultra Bright LED Headlamp with 3 Modes
$4.62 – $24.86Price range: $4.62 through $24.86


 Camping Gear
 Camping Chair
 Camping Table
 Sleeping Bags
 Camping Bed
 Sleeping Gear
 Storage Bags
 BBQ Portable
 Camping Tents
 Gazebos
 Outdoor Cooler
 Cookware
 Power
Power Camping Light
 Flashlight
 Portable Solar
 Power Banks
 Fish Finders
 Fishing Bags
 Fishing Jerseys
 Fishing Reels
 Fishing Chairs
 Fishing Bait Boat
 Fishing Floats
 Hard Baits
 Hiking Vests
 Outdoor Bags
 Water Filters
 Paracord
 Walkie Talkie
 Paddleboards
 Boats
Boats Sea Scooter
 Accessories
 Electric Bike
 Electric Scooter
Recent Comments